How To
In September, Stuart Turley gave a quick tutorial to the club on how to use the horizontal perspective adjustment in StereoPhotoMaker. He put together the following tutorial to share. Click the images to see a full-resolution version.
Adjust the window to avoid any violations (left/right arrows on the keyboard) and save the image.

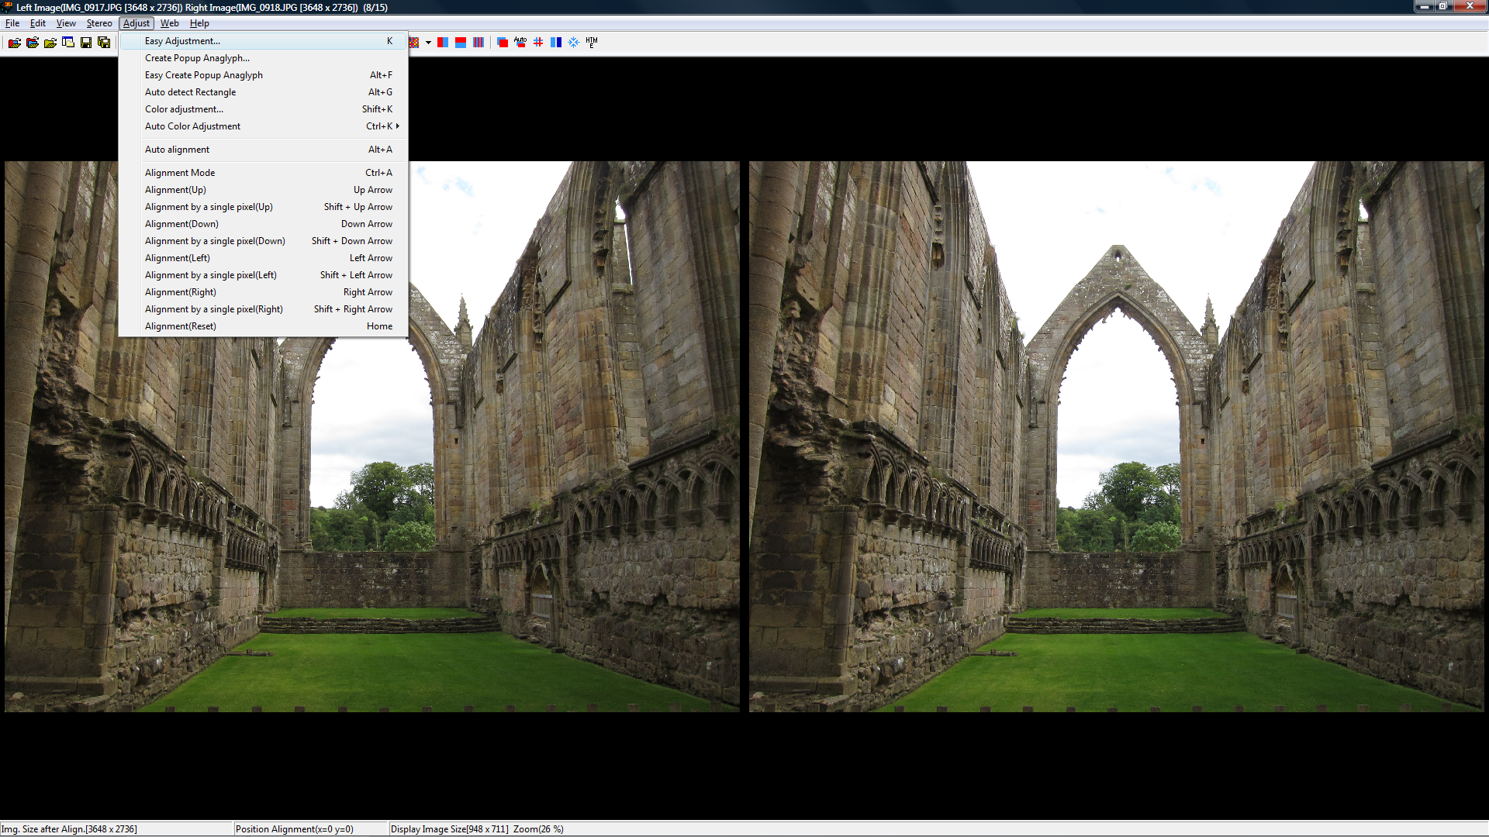
Select Adjust/EasyAdjustment
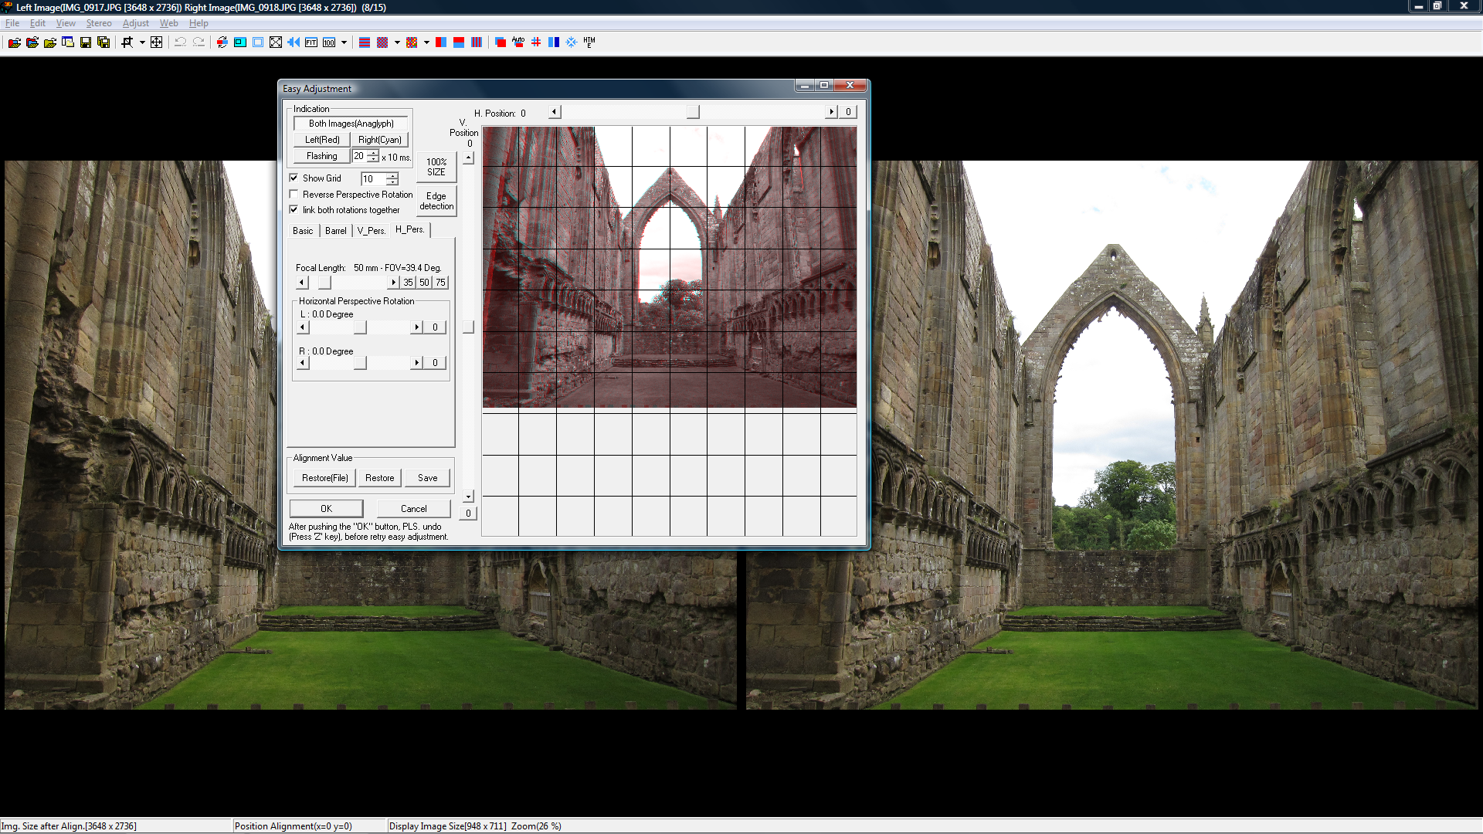
In the pop-up window select the tab H_Pers, and click the boxes ‘Show Grid’ and ‘Link both rotations together.’
The Indication box at top left should also show ‘Both Images (Anaglyph)’
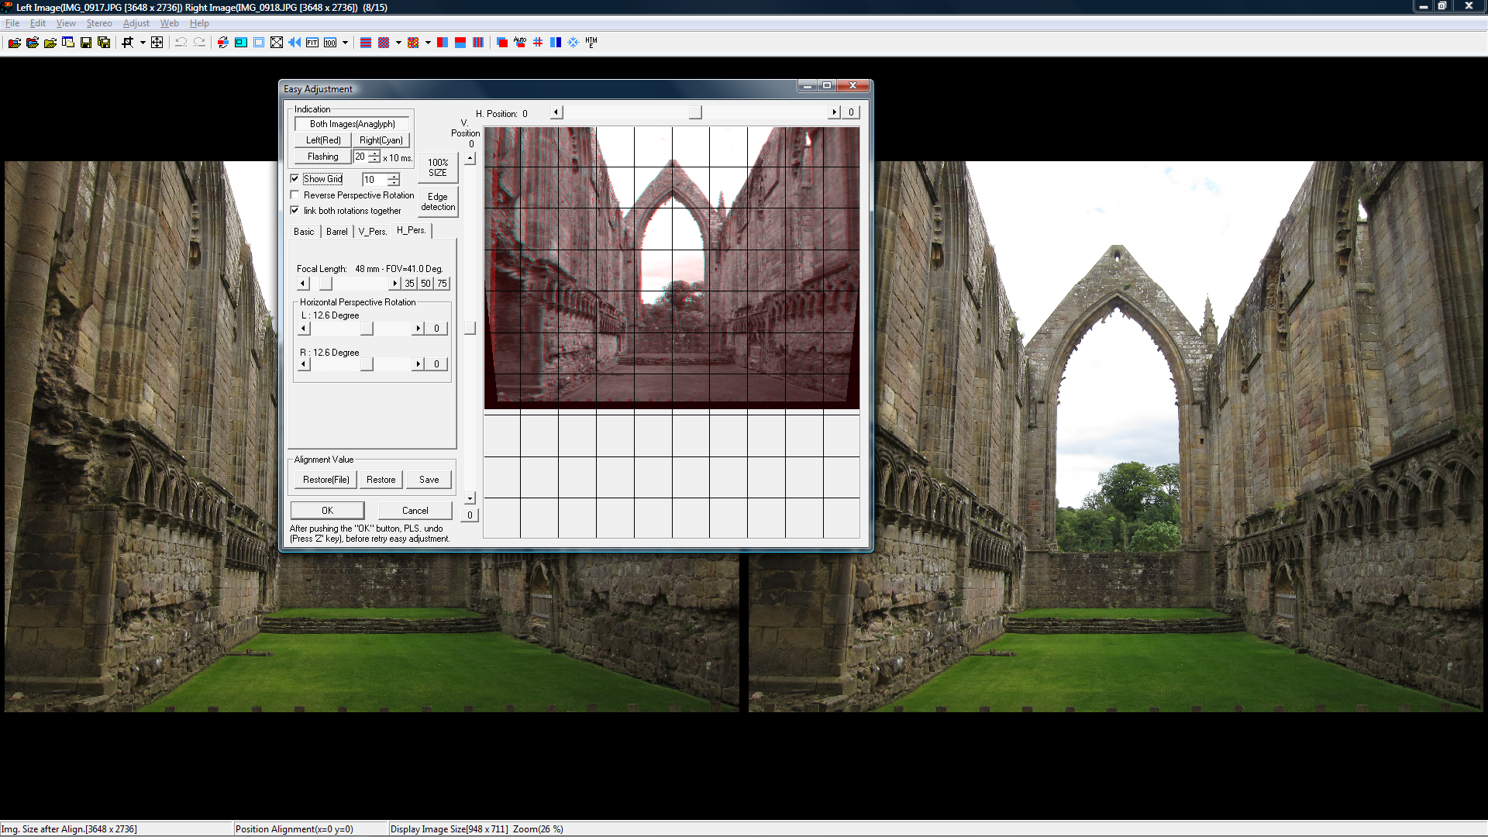
Using the arrows in the ‘Horizontal Perspective Rotation box, adjust the image so that the verticals in the picture align with the vertical grid. Then click ‘OK’.
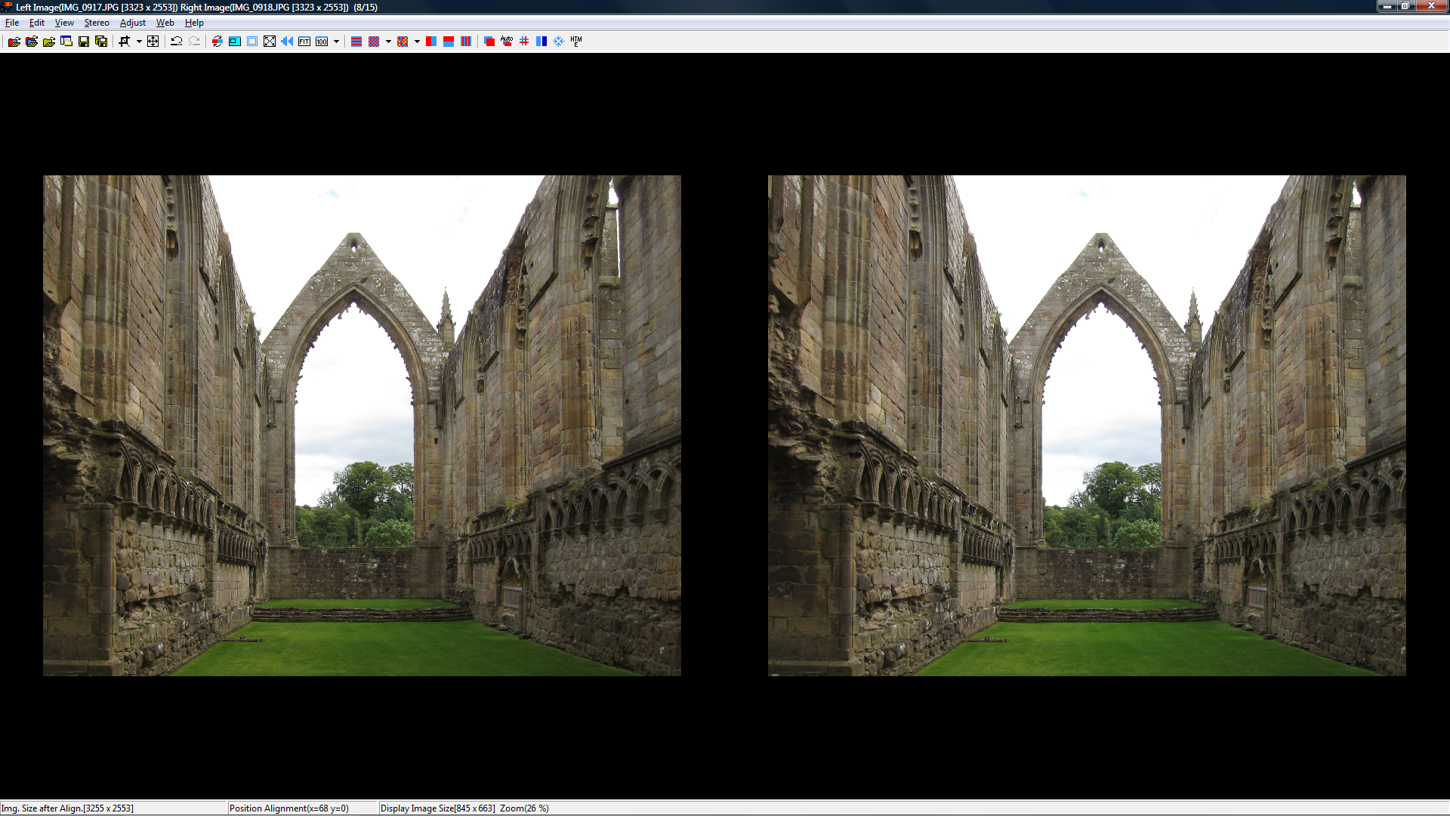
Hit ‘Alt A’ to auto-align the resulting image, then crop away the parts of the image that have been clipped.
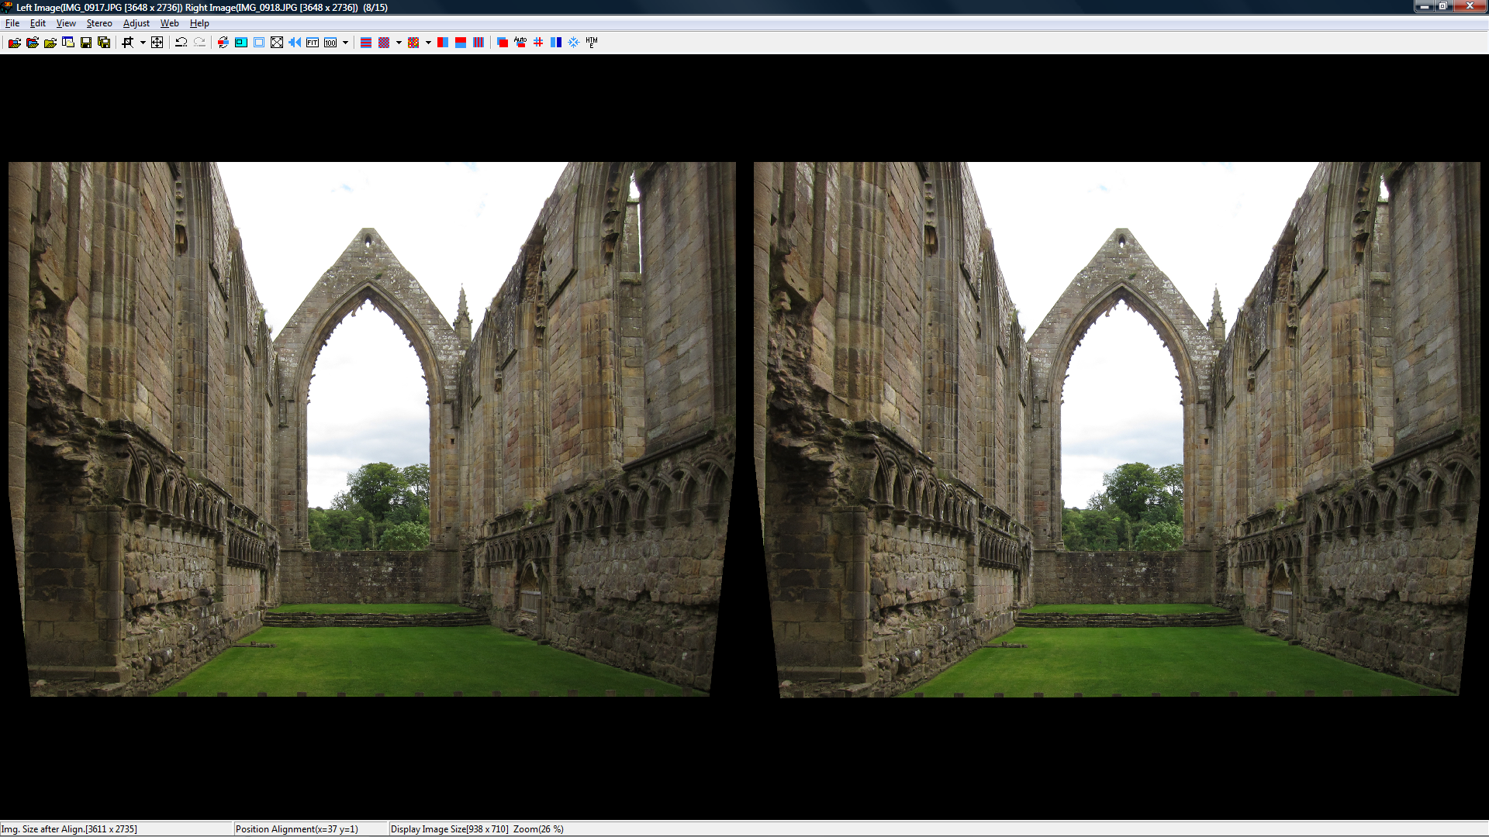
Adjust the window to avoid any violations (left/right arrows on the keyboard) and save the image.
You’re done!